Geoghegan’s Bluff
Geoghegan’s Bluff
The walk up the gully has now reach a little over half way. This slightly depends on where you consider the gully ends however. The furthest point of the front line from the allied point-of-view is parallel to the the Nuri Yamut memorial, known to the allies as Fusilier’s Bluff. However, although it becomes quite shallow, one can stay in the gully as its splits at the Nullah and walk right up to the road at the Turkish Zighin Dere Dressing station memorial. If you take this route, be warned that you will be confronted by a huge statue of an Ottoman soldier who ‘guards’ the head of the ravine with a rifle, (albeit apparently holding a World War 2 MIL rifle!).
The next few pages take a detour out of the gully itself to visit Geoghegan’s Bluff, Gurkha Mule Trench, Gurkha Bluff and Y Beach. The next page back in the gully is The Zig Zag.
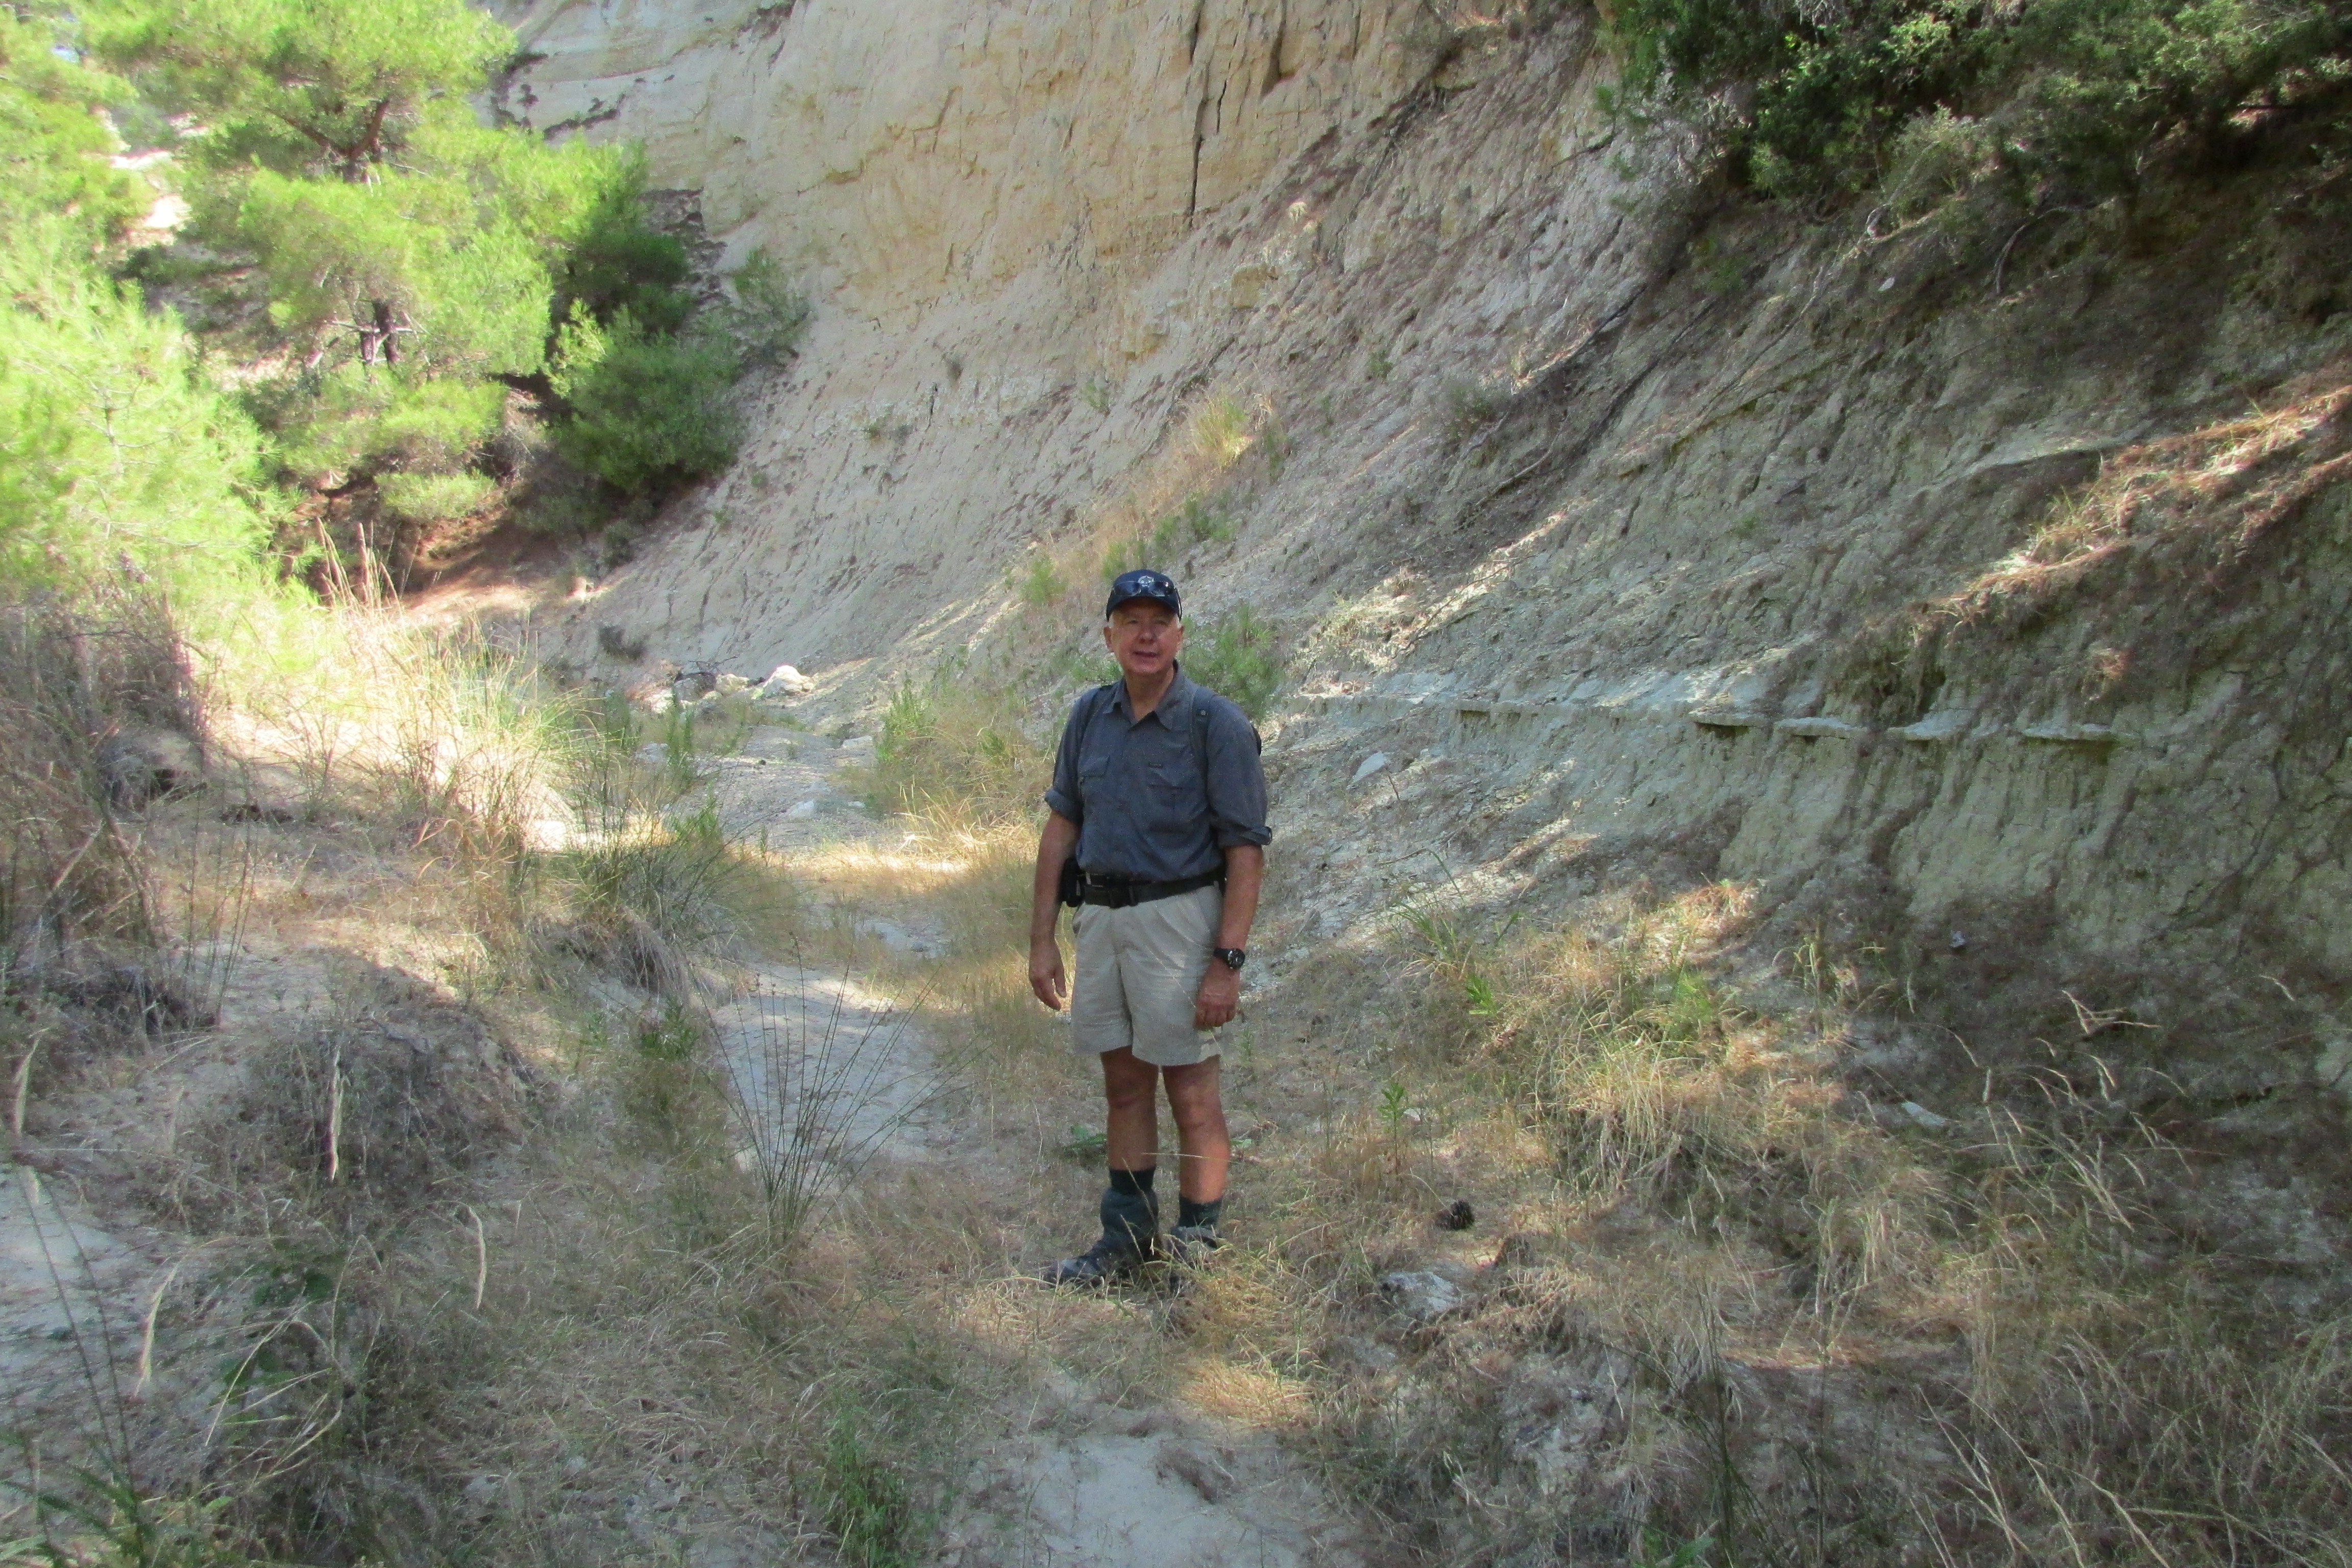
After some twenty minutes walking north of Aberdeen Gully, (approximately 1 km) one enters a 100 meter section which is distinctively narrow and quite straight. It is almost like a sunken lane with walls close on both sides. At its end, the path turns sharply 90 degrees to the right. Here, a sheer white limestone wall rises on the right, whereas on the left is a low bank of small trees and scrub. It would be relatively easy unknowingly to walk on past here, but you will be rewarded by finding a break in the bushes on the left and scrambling up the three metre bank. You emerge quite surprisingly on to a flattish area graced by a single tree near its centre. Depending on the time of year this field may be planted with sunflower seeds, ploughed, or in grass. This is Geoghegan’s Bluff. In the 2013 image above, Simon has stopped at the point where a short scramble up on to the bluff is relatively easy, his right, our left.
The What3words locator below is in the centre of Geoghegan’s Bluff.
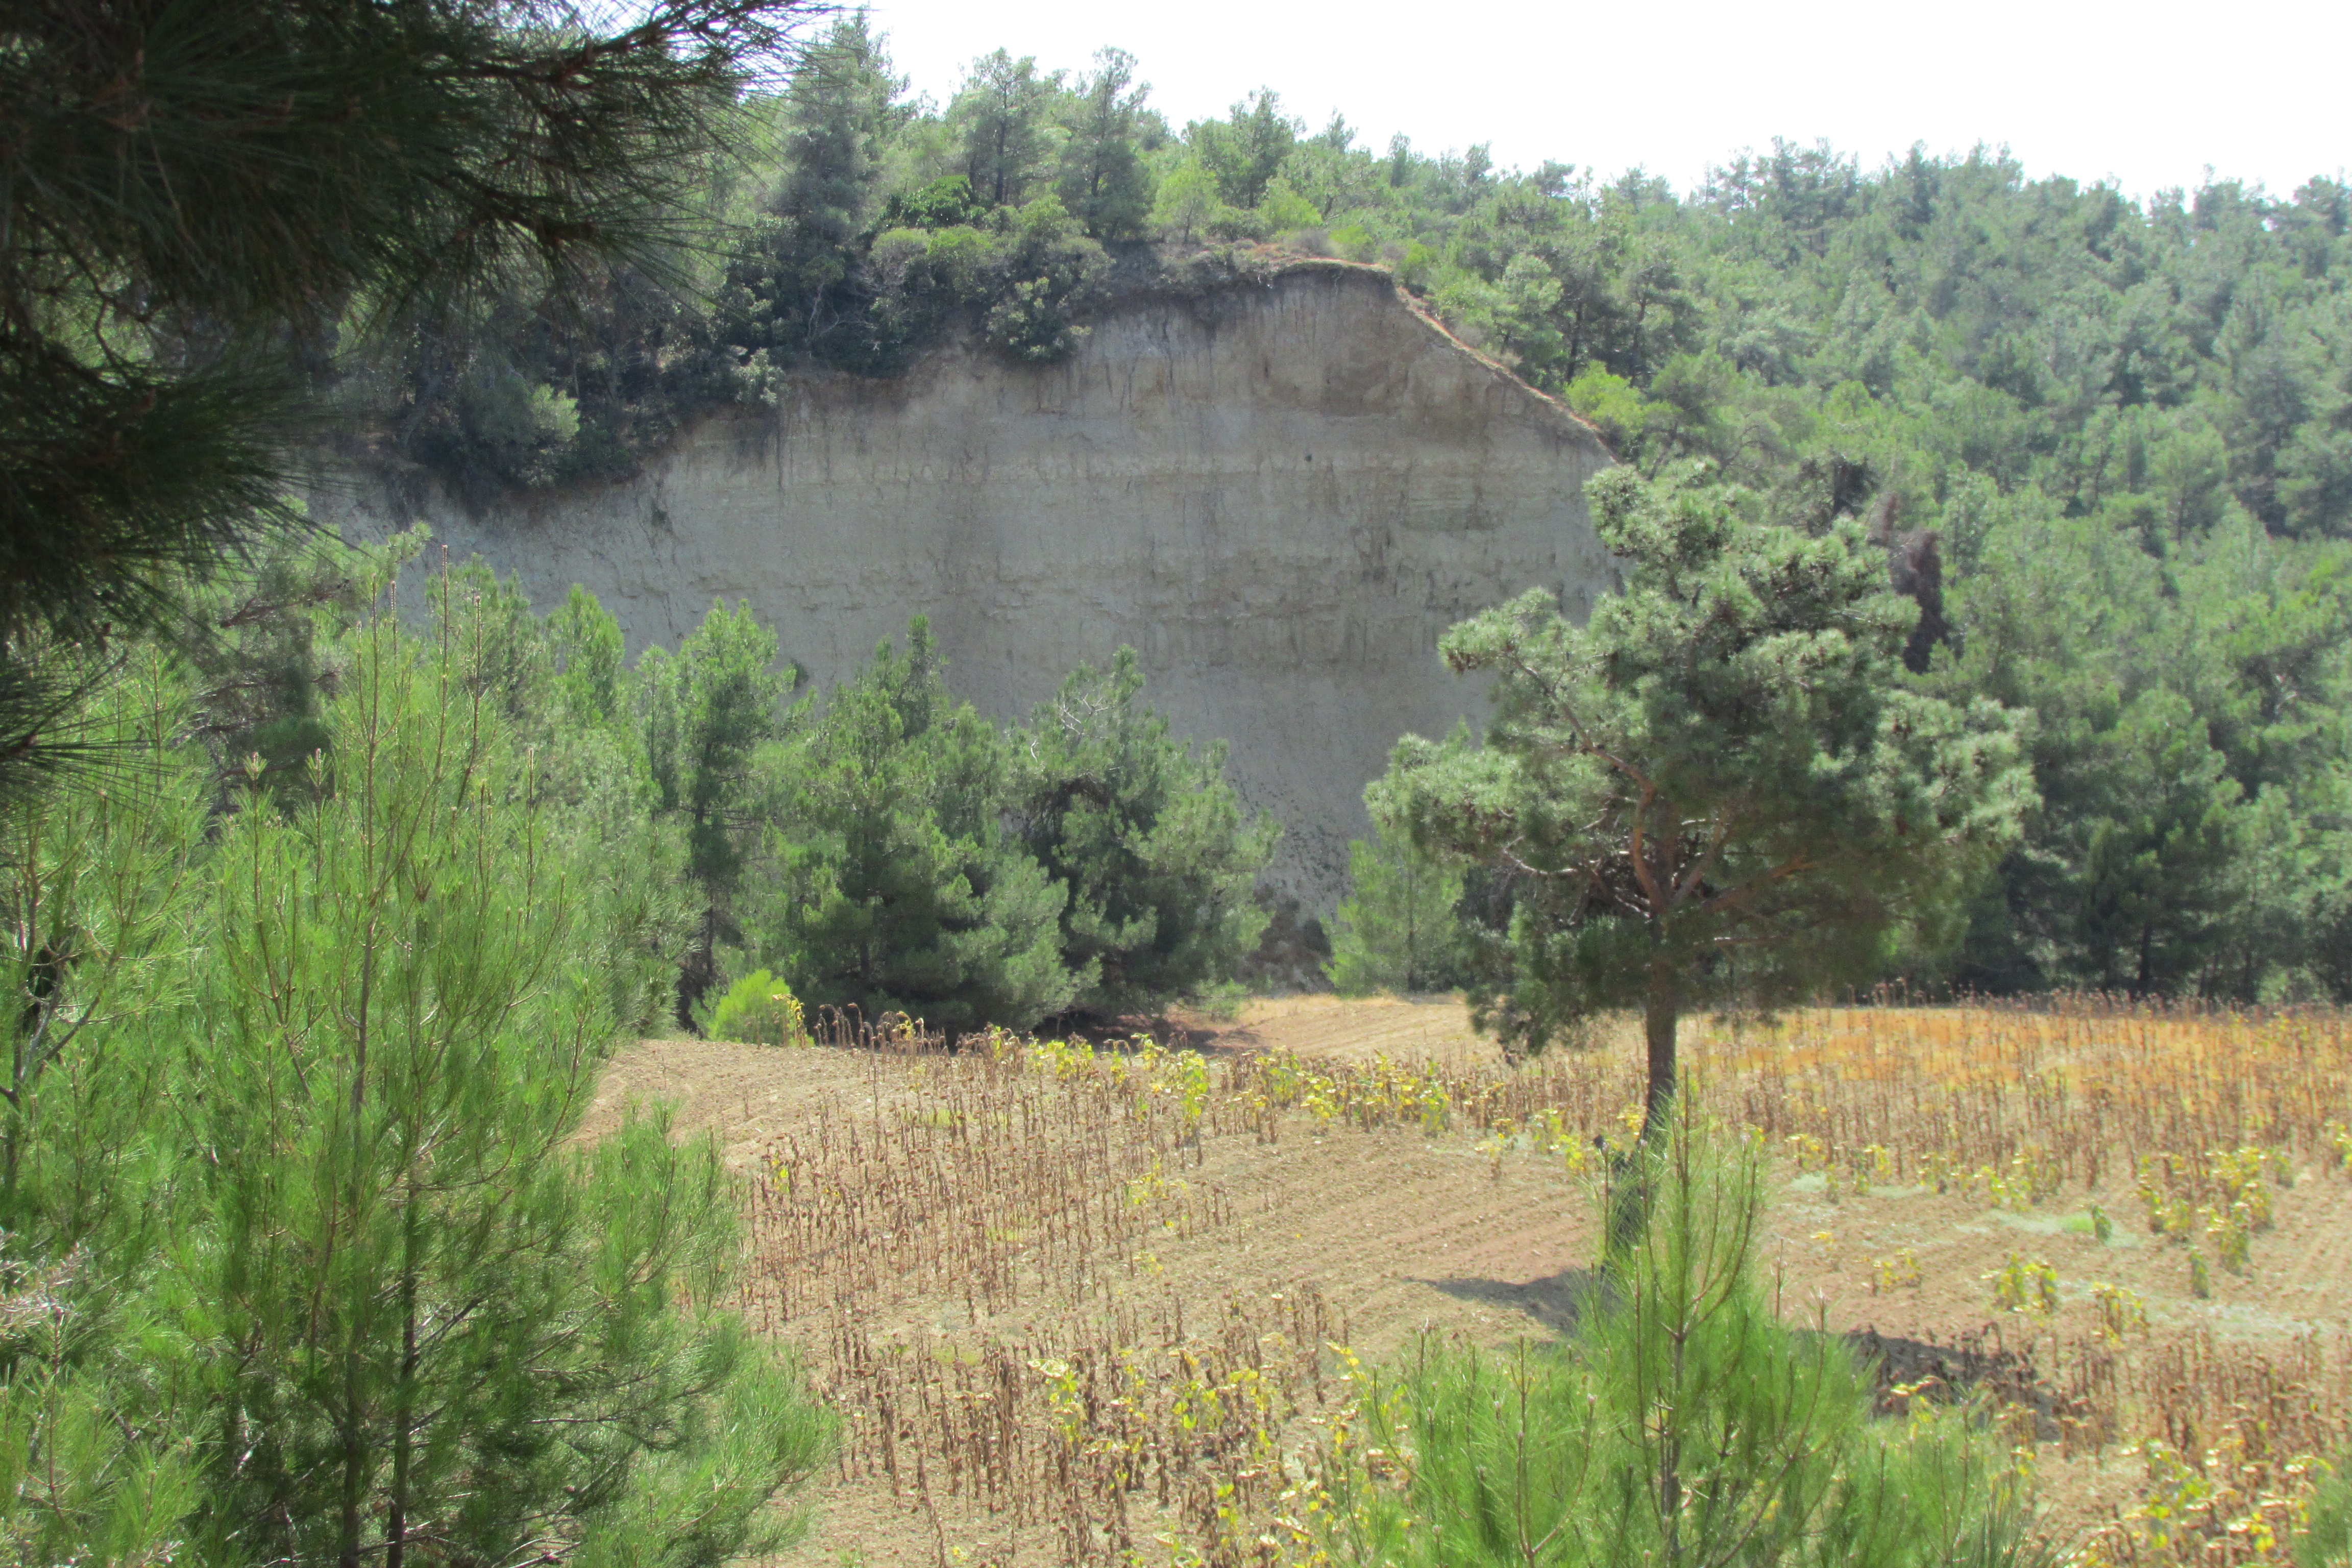
It can be quite a relief as one leaves the oppressively close walls of the gully below. It is worth turning round to look north eastward over the gully. The eastern wall rises sheer (photo below), and it is perhaps fitting to reflect that for many hundreds, it was from this area that they left the protection of the gully to ascend to the front line trenches. Under the fields and trees on the far side lie the ‘H’ trenches, which were so bitterly fought over in May and June 1915.
As well as being a huge cemetery, Geoghegan’s Bluff or ‘G Bluff’ was an HQ and staging point for the front line trenches, especially after 28th June when the machine guns of the Turkish Boomerang Redoubt on the eastern side of the ravine had been neutralised by the heroic charge of the Border Regiment.
After the conflict, 925 allied interments were relocated from Geoghegan’s Bluff to a special plot of the same name in the nearby Twelve Tree Copse CWGC cemetery. The locations for some of the fallen were lost however and they remain at G Bluff.
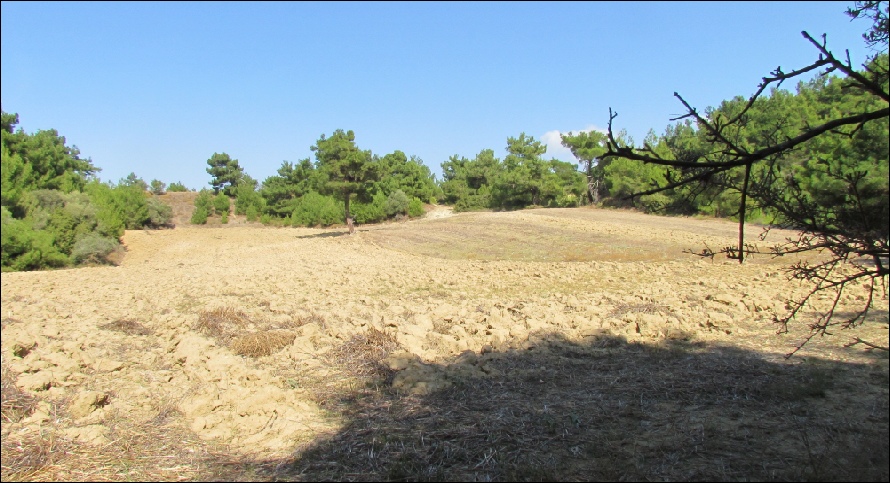
The image below looks back south eastwards over the top of the gully.
The last image below was taken by Diccon Roberts in September 2014 and looks north across the bluff from the point where one emerges on to it from the gully.
You now have the choice of crossing the fields to the north west to visit Gurkha Bluff and Y beach, or of returning back into the gully.